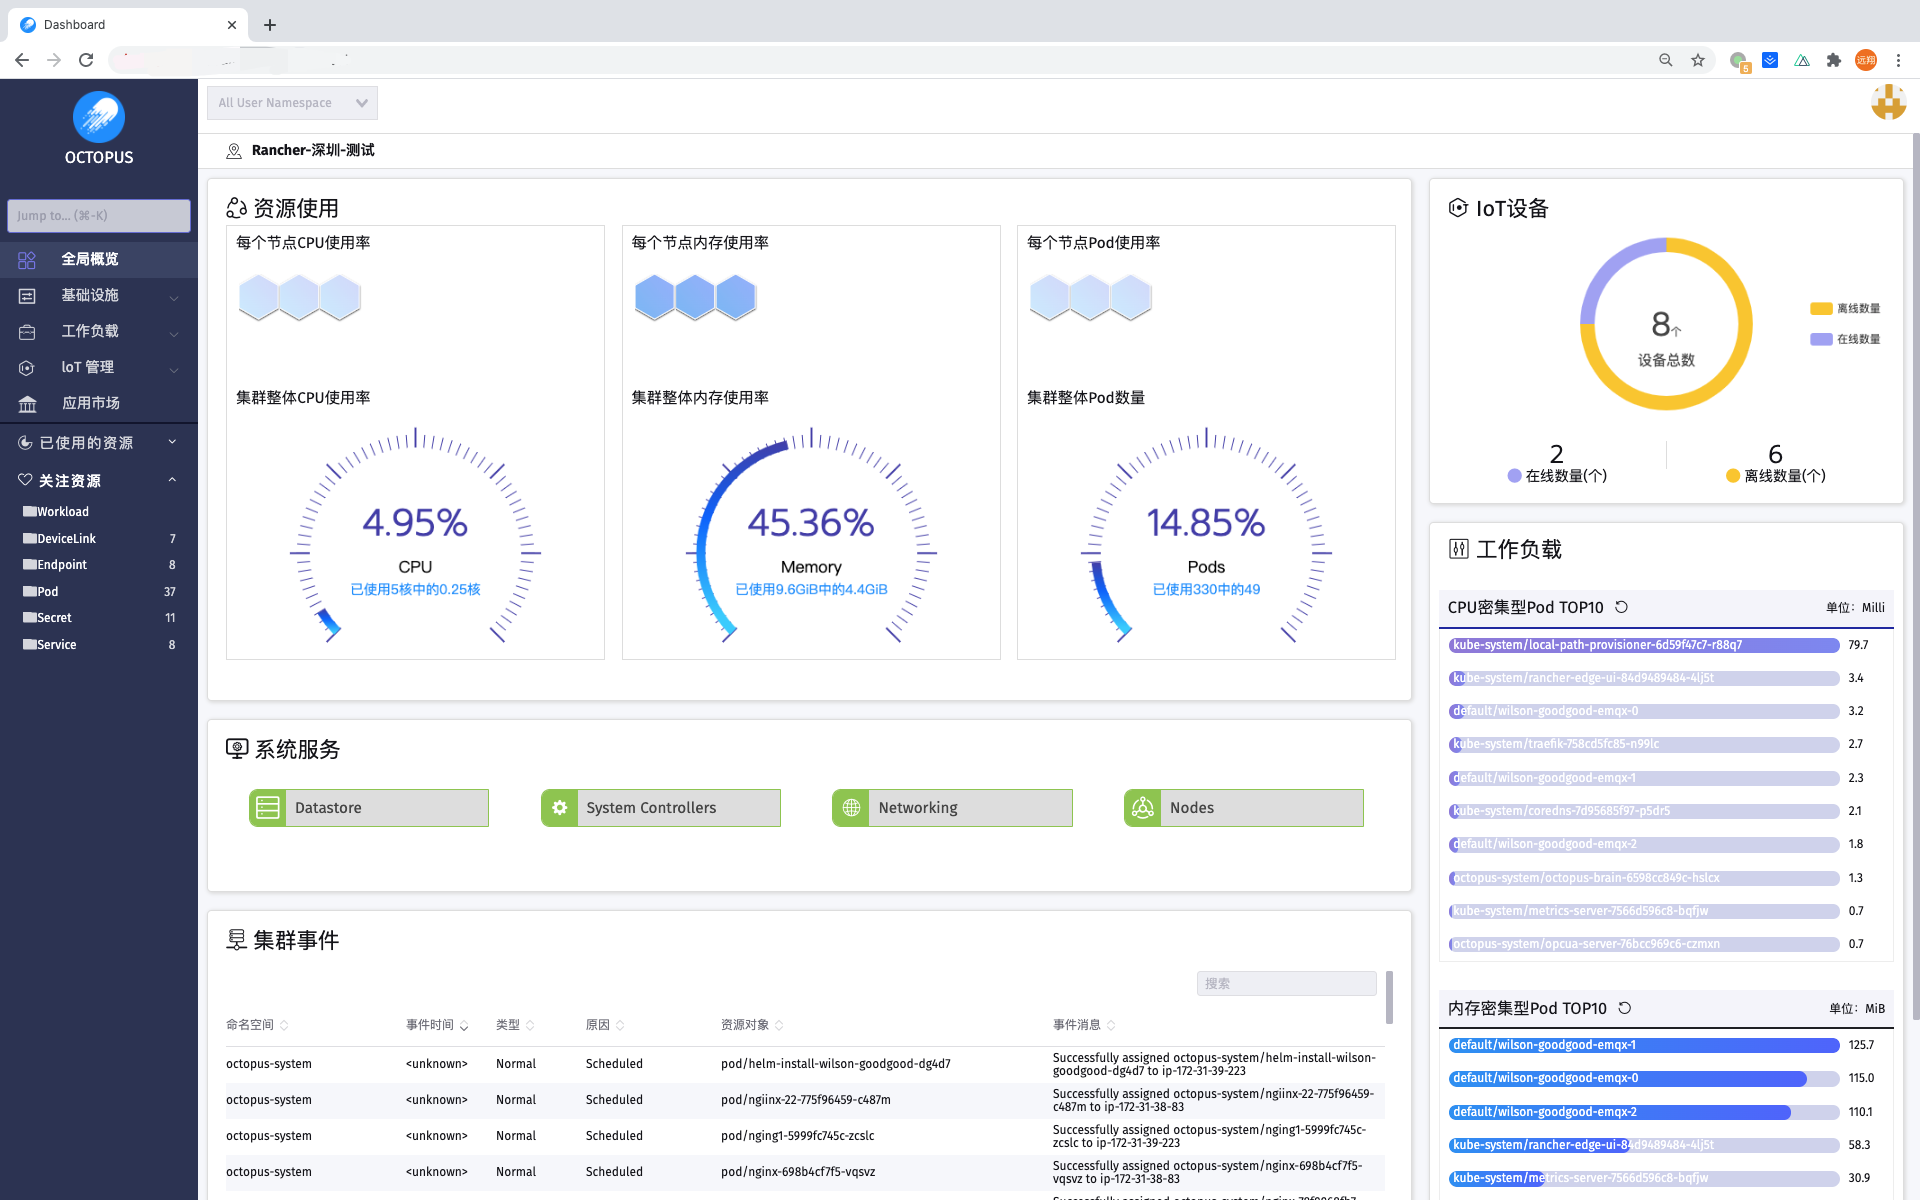
Octopus UI
note
Octopus-UI is only supported for k3s cluster.
Install Octopus-UI from Helm
By default, the Octopus-UI is auto deployed using octopus Helm chart, you can always turn it on or off with following commands:
$ helm upgrade -n octopus-system --set octopus-ui.enabled=true octopus octopus/octopus
Install Octopus-UI from Manifest
Deploy the Octopus-UI using all-in-one YAML file:
kubectl apply -f https://raw.githubusercontent.com/cnrancher/octopus-api-server/master/deploy/e2e/all_in_one.yaml
Validate the Octopus-UI status by checking its pod and service status.
kubectl get po -n kube-system -l app.kubernetes.io/name=octopus-ui
NAME READY STATUS RESTARTS AGE
rancher-octopus-api-server-5c845c998b-pj2gr 1/1 Running 1 20s
kubectl get svc -n kube-system -l app.kubernetes.io/name=octopus-ui
NAME TYPE CLUSTER-IP EXTERNAL-IP PORT(S) AGE
rancher-octopus-api-server LoadBalancer 10.43.98.95 172.16.1.89,192.168.0.90 8443:31520/TCP 22s
by default Octopus-UI uses k3s LoadBalancer with port 8443, you can visit it by its EXTERNAL-IP:8443:

Authentication
Octopus-UI uses k3s username and password for authentication, you can find it from the k3s generated KUBECONFIG file.